In this article we’re going to walk you through how to make your own vodka. We’ll cover everything from making your own potato mash all the way to jarring. All of the supplies you’ll need can be found in our shop. If moonshine or tequila is more your speed, check out our guides on how to make brandy, how to make tequila or, our watermelon wine recipe. Check out our Mile Hi Distilling moonshine still kits.
Learning to make a good batch of vodka takes a keen sense and attention to detail. So be sure to plan thoroughly and execute carefully to get the most out of your run. Let’s get started!
***Before we get started. It is illegal to distill spirits at home. This guide is meant as a hypothetical walk-through. Mile Hi Distilling doesn’t condone any illegal or illicit behavior and cannot be held responsible for the actions taken by any individuals not acting within the parameters of the law.***
Browse By Step. Click on any of these links to jump to the step you want to see:
Background of Vodka’s History
Getting Started: Picking Your Type of Vodka Mash
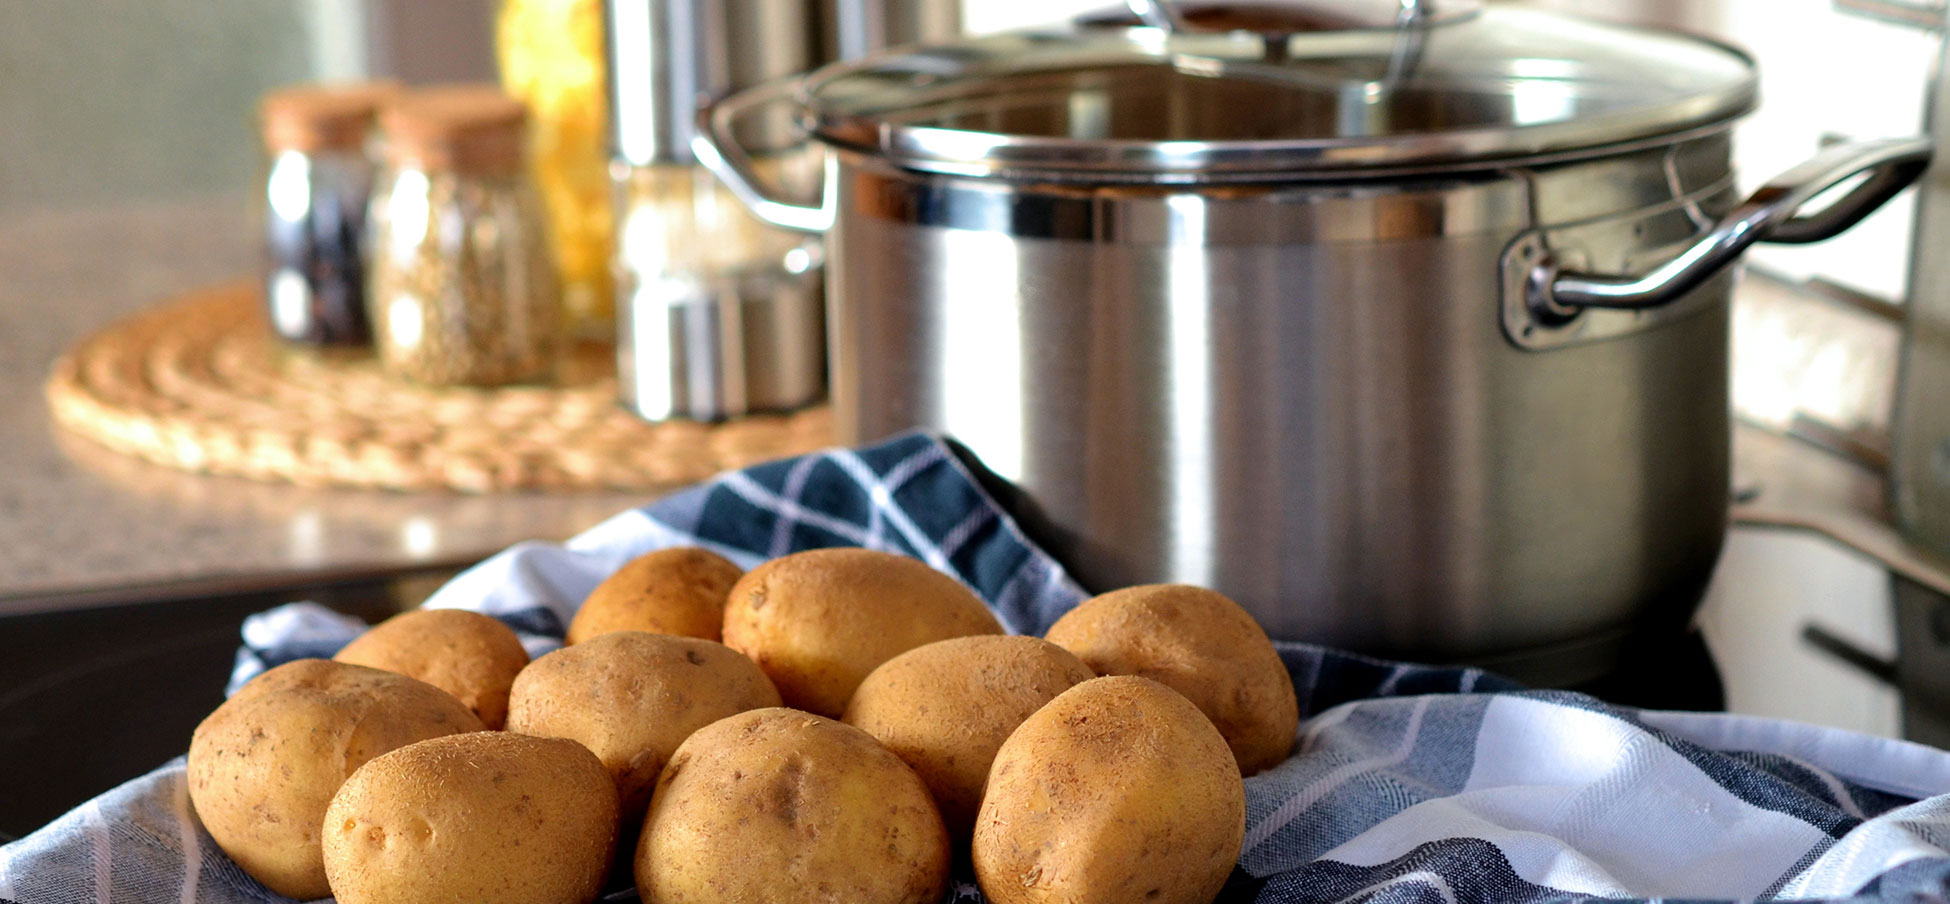
How to Make Vodka: Potato Mash Recipe
Fermenting Your Mash
Distilling
Collecting Your Distillate
Conclusion
How To Make Vodka – Expert Tips
Background of Vodka’s History
Making vodka is a 700-year-old art form that have never stopped evolving. Its predecessor was made from distilling wine and was billed almost exclusively as a medicine. For the first several centuries, vodka was a relatively low-proof beverage.
Slowly, intrepid distillers set out to change that fact. This endeavor pushed vodka into the high-proof beverage we know and love today.
These days, making a great vodka is a relatively well-understood enterprise. With the right mash recipe, some decent equipment, and a skillful distiller, an excellent batch of vodka is a sure thing.
In this post, we’ll help you accomplish exactly that. We’ve also included some tips on how to optimize your efforts from the experts at the bottom of this guide.
Getting Started: Picking Your Type of Vodka Mash
A great vodka starts with a great mash. There is a relatively large variety of mash types to choose from when making vodka. The most common variations include the following.
- Rye
- Wheat
- Corn
- Potato
- Beet
- Molasses
Here at Mile Hi Distilling, we’re big fans of history. Granted, there are many types of mashes that have a rich history. However, few things come to mind more clearly than potatoes when the subject of vodka comes up. So we’ll be focusing on potato vodka. Let’s dive in.
How to Make Vodka: Potato Mash Recipe
Base Ingredients & Materials
- 7 Gallons of Water
- 25 Pounds of Potatoes
- 5 Pounds of Crushed Malted Barley
- Mash Pot
- Heat Source
- Thermometer
- Long Spoon
Mash Procedure
- Scrub potatoes with a produce brush to remove residual dirt.
- Cut potatoes up into cubes to increase surface area.
- Boil Potatoes for 20 minutes in 7 gallons of water.
- Mash potatoes by hand or by using an immersion blender.
- Transfer the mash to your mash pot and add water to reach 7 gallons of total volume.
- Raise the heat of your mash to 140 °F. Stir mixture continuously until desired temperature is reached.
- Add 5 pounds of crushed malted barley, continue to stir while adding barley.
- Hold mash at 140 °F for 20 minutes. Stir for 30 seconds every 4 minutes during this time.
- Raise temperature to 152 °F and hold for 1 hour. Stir for 30 seconds every 10 minutes.
- Take a gravity reading. If it is below 1.065, add sugar to reach 1.065.
- Cool mash to 75 °F. If time allows, cool overnight to give barley enzymes more time to break down potato starches.
Fermenting Your Potato Vodka Mash
Materials
- Fermentation Bucket
- Yeast
- Siphon
- Cheese Cloth
- Citric Acid
- Iodine (Optional)
- pH Meter (Advanced)
- Hydrometer
Fermentation
- Create a yeast starter by following these steps:
- Sanitize a standard mason jar.
-
Pour 4 oz. of 110 °F water into the sanitized jar.
-
Add 2 tsp. of sugar to the water, stir thoroughly.
-
Mix in yeast (Amount depends on type of yeast used, follow directions provided).
-
Stir thoroughly.
-
Let the starter sit for 20 minutes. You should see the mixture’s volume double in this time.
- Transfer the mash liquid only to the fermentation bucket. You can pour the mash through a strainer to achieve this. Try to create as much splash as you can without losing liquid to properly aerate the mixture.
- Add the yeast starter to your fermentation bucket.
- Add airlock and ferment mixture for 2 weeks at room temperature.
Check Fermentation: You can use iodine to perform a quick check to determine if fermentation has completed. First, take a sample of liquid off the top of your wash (avoid any residual solids from coming into the sample).
Put the sample onto a white plate or lid and drip in a few drops of iodine. If the sample turns blue , this means it has reacted to starches present. If starches are present then fermentation is not complete. Check back in a few days. You can also check the ABV ( alcohol by volume ) in the fermentation process by using a hydrometer. To learn the ins and outs of how a hydrometer works, check out our ‘How To Use a Hydrometer‘ guide.
Straining
Once fermentation has completed, we’ll need to completely remove any solid material. The solid material left over can lead to headaches if left in the wash. A cheesecloth is a great option for straining the wash before distillation.
Distilling
Materials
- Still
- Fermented and Strained Mash Water
- Cleaning Products
- Column Packing
Well done, at this point you’ve actually done all of the work necessary to produce your vodka. It just happens to be swirling around with a bunch of other stuff that you don’t want.
Now comes to process of separating your vodka from all of that other stuff. Or, as the process is more commonly known, it’s time to distill your vodka.
Prepping Your Still
This is a step that goes avoided all too often. If you want to maximize the quality of your product, it’s all about attention to detail. So we’ll want to start our prep-work by cleaning the still.
Even if you’ve cleaned the still after your last run and let it sit for a while, we will want to clean it again. If you’re just now learning how to make vodka, or any other spirit, now is the time to really emphasize this so you can build good habits.
Next, we’ll want to add clean copper packing to your column. Vodka is a high-proof spirit, so we’ll want to maximize reflux during the run. If you have a condenser, now is the time to hookup the water input and output.
Finally it’s time to add your wash to the still! We recommend using an auto-siphon for this process. The name of the game here is to reduce the amount of sediment in your wash as much as possible.
Running Your Still
The time has now arrived to fire up that still. Ensure your column is packed with copper packing, any domes, columns, or condensers are properly attached, as well as any hoses. Next, we’ll turn on the heat source and start raising the temperature of your wash.
If you’re using a copper still, apply flour past to the joint between the vapor cone and column once you reach 110 °F. If using a condenser, turn on the water when the boiler reaches 130 °F.
At about 170 °F the still will start producing. You’ll want to dial in your heat source setting to achieve a consistent 1-3 drips per second.
Collecting Your Potato Vodka Distillate
Collecting your vodka is probably the most satisfying part of this entire process. This step is part art, part science. It takes a sensitive and experienced distiller to get this process just right.
If you miss the mark slightly on a few of these steps, don’t get discouraged. You’ll still have a good quality product and you’ll only get better with practice.
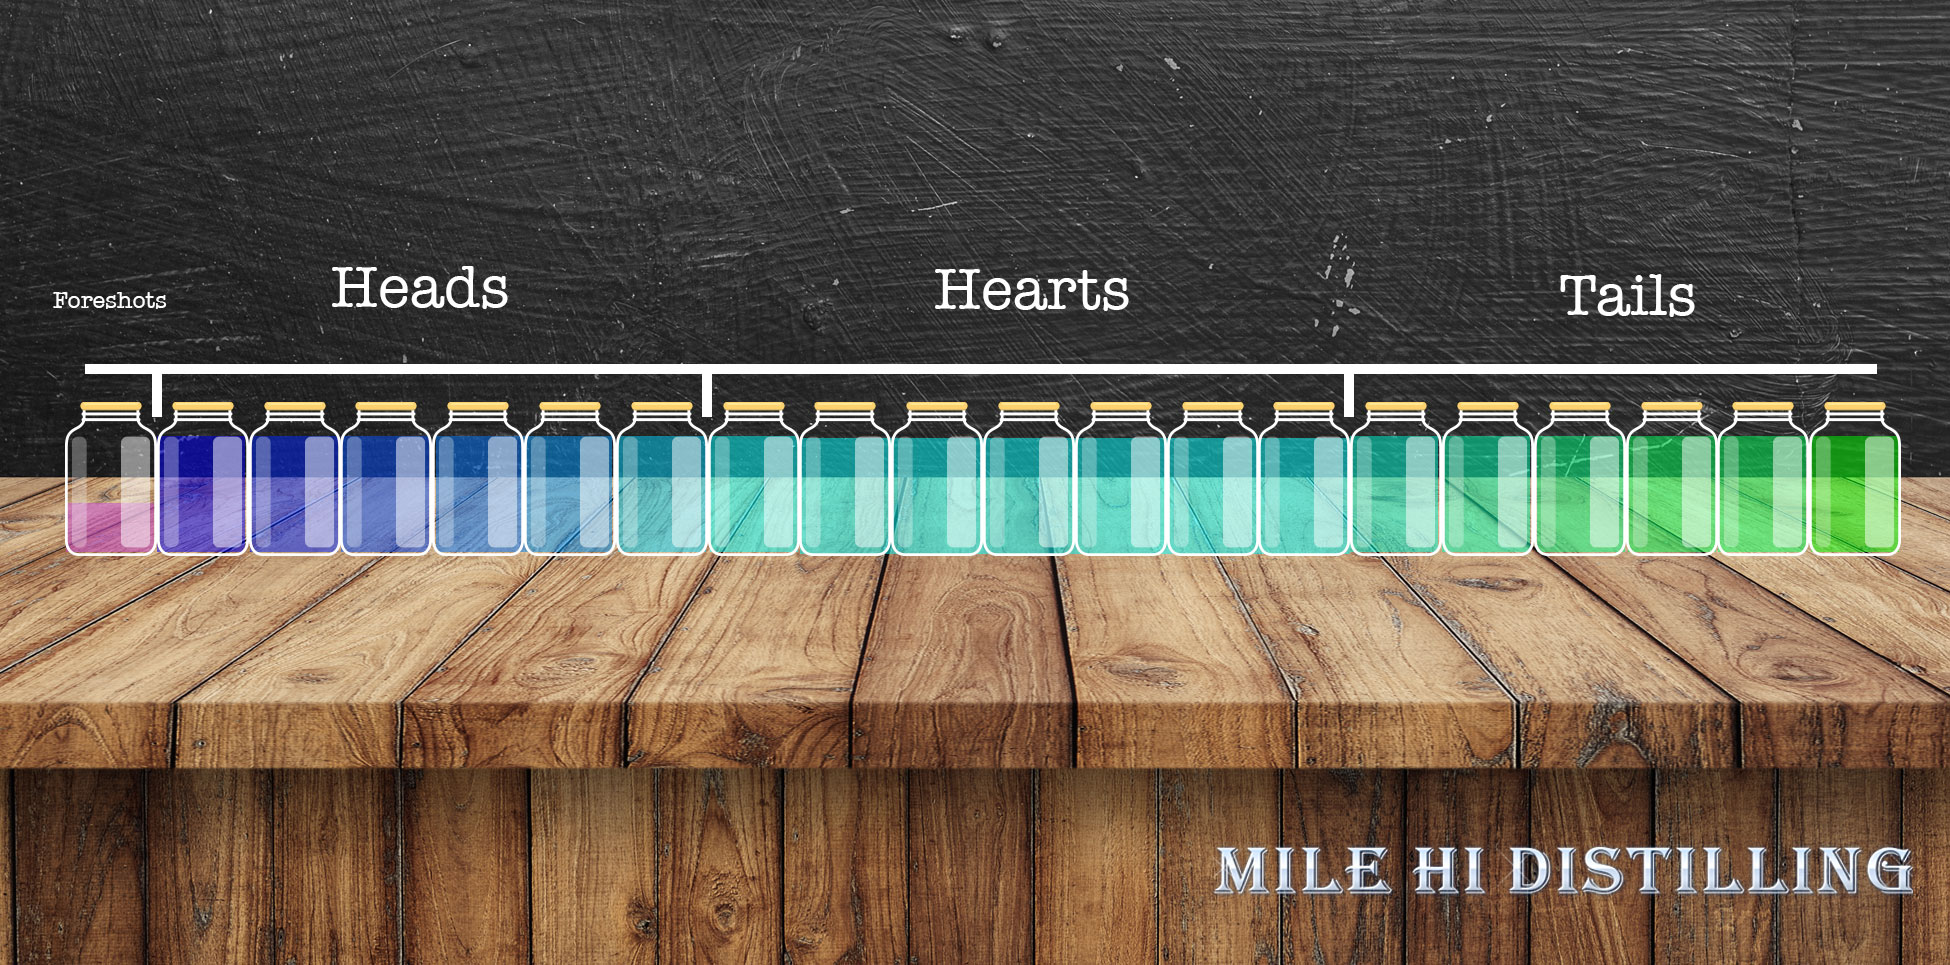
Foreshots
The first approximately 5% of your run will be the foreshots. Foreshots contain methanol which is extremely volatile and toxic.
Do not consume this part of your run.
Take care to isolate your foreshots thoroughly and throw them out. Consuming methanol can cause an array of issues including blindness.
Heads
The next 30% percent of your vodka run is known as the heads. Similar to the foreshots, the heads of your run are filled with volatile alcohols. One of the staples of the heads is a particularly volatile alcohol known as acetone.
Acetone has a distinct, solvent-like smell, making its identification pretty easy for anyone with a working nose. Drinking your heads won’t make you blind but they will leave you with the worst hangover of your life.
Like your foreshots, you’ll want to isolate these and throw them out.
Hearts
If you’re following along with this guide, you have now officially gone from Googling “How to Make Vodka” to making vodka. The next 30% of your run will be the sweet spot of your vodka run, the hearts.
You’ll notice the solvent smell of acetone taper off and a sweet-smelling ethanol come forward. This is where a skillful distiller really shines. Maximizing high-quality hearts is a game of senses.
By accurately identifying where the acetone stops and the ethanol begins, a distiller maximizes their number of high quality jars of product. The main giveaways are the solvent smell of acetone and the sweet/smooth taste of ethanol.
Tails
The final 35% of your vodka run will be the tails. The tails contain protein and carbohydrates from the wash that you don’t want in your product. Some tails have esters and other bi-products that can refine the character of your spirit and can actually add nice flavor to it. Be precise with your cuts and use your smell and taste to see what you like and don’t like in them.
You can actually set the tails aside and run them as their own wash in the future to pull out a bit more product. The best way to identify tails is the steep drop in sweetness as ethanol concentrations decrease.
You’ll also begin to see an oily film on top of the product. This is from fusel oils and is an indication that your in the bitter, gross side of your tails. Keep collecting and throw into your next run or stop the run and dump the contents.
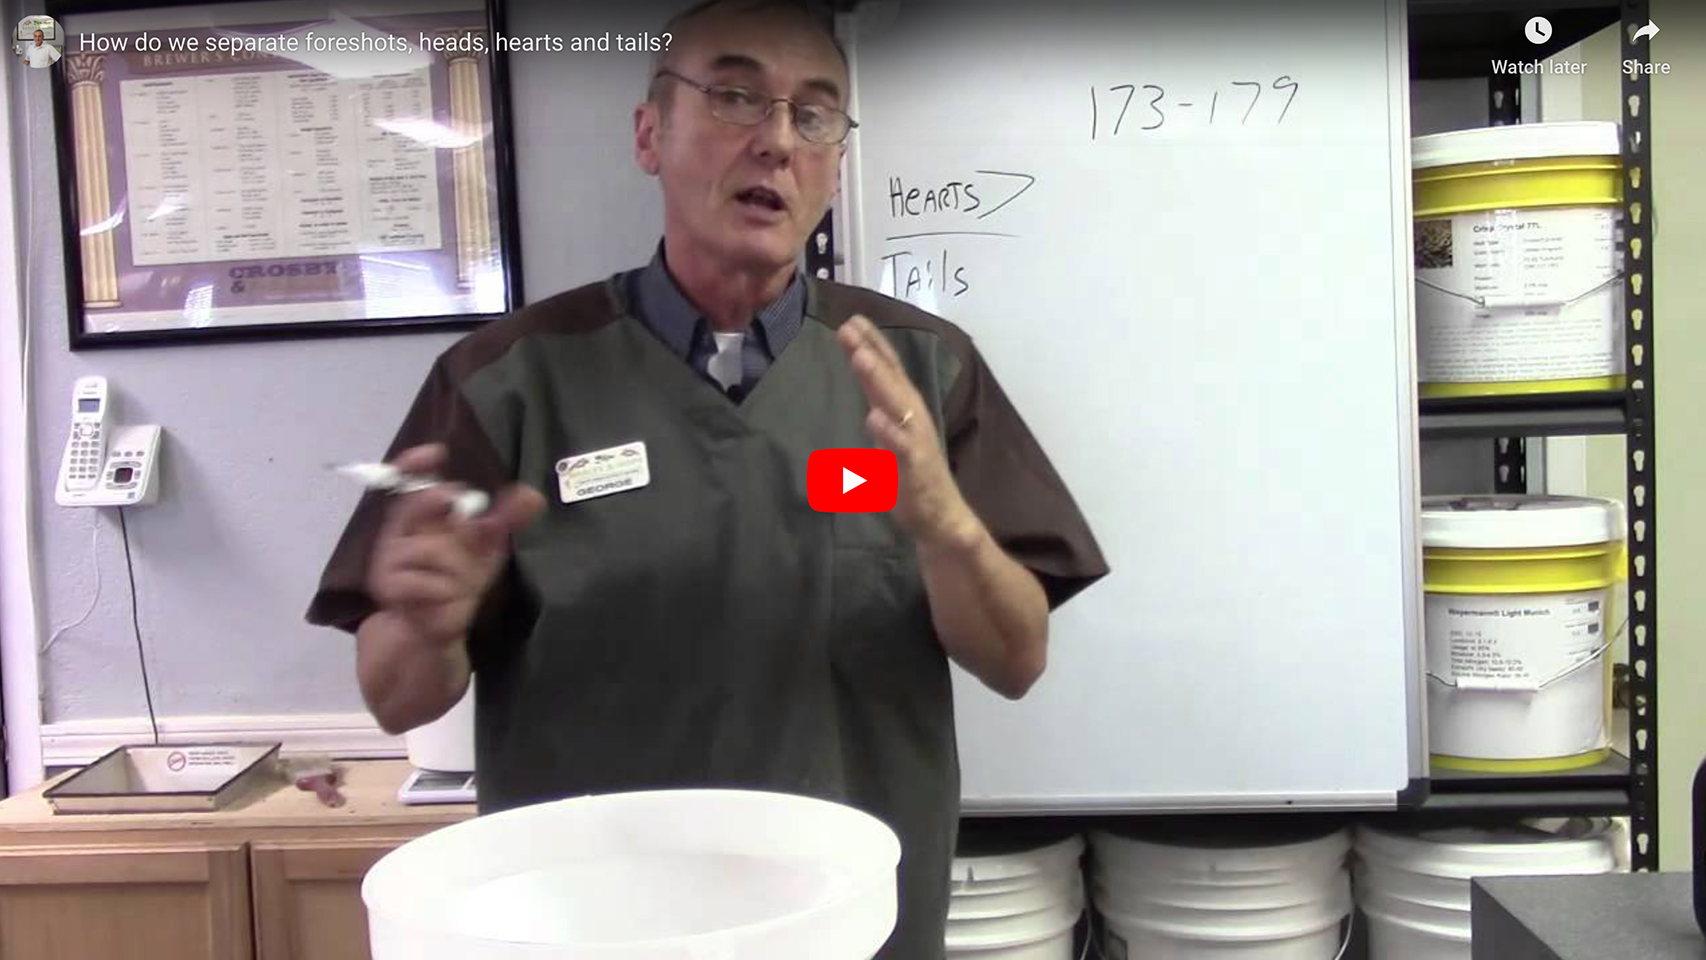
Here’s George over at Barley and Hops Brewing explaining making cuts between your heads, hearts, and tails.
Conclusion
Congratulations, you just made a batch of delicious potato vodka. We hope everything aligned well for you and you churned out a top-shelf product. Now it’s time to clean and disassemble your setup to store in a cool, dry place. Be sure to wash everything thoroughly to ensure high-quality product in the future. Try using your fresh batch of vodka to make some tasty Bloody Marys.
Thank you for visiting Mile Hi Distilling, your one stop shop for all of your distilling needs. Don’t forget to check out our shop for any supplies or equipment you may need. Well done on learning how to make vodka with a potato mash!
If you enjoyed this guide on how to make vodka, check out our other guides on how to make tequila and how to make moonshine
Let us know what you thought of this guide by leaving a comment or a star rating below.
How To Make Vodka – Expert Tips
We asked experts in the industry what they do to maximize the quality of their vodka runs. Check out their time-tested wisdom below.
Sean Smiley – Owner/Head Distiller of State 38 Distilling
“Vodka is a tricky one and a good/great vodka requires many factors to be taken into consideration. For us the following are important:
-A light floral raw material for mashing/fermenting. For example, we use 100% agave at State 38 Distilling for our vodka, which brings a sweet and floral finish to the vodka. If you start with rye as the base, you will have a spicier vodka. Potato will bring more a starchy/earth feel. Good/Great vodka is in the olfactory of the beholder, but your raw base material will immediately point you in the direction of what your finished vodka will result as.
Fermentation
-Fermentation temperatures and pH are vital for vodka production, so as not to stress the yeast and give more acetate/methanol resulting in a rubbing alcohol finish/feel to the final vodka.
Distillation
-Distillation is of course very important, but we tend to distill only to the minimum required proof of 190 so that we can maintain as much sweetness and original raw material characteristic as possible. Some distilleries will go up to 195 proof by redistilling 10 or more times. To me that is just further removing the unique character for a vodka.
Filtering
-Filtering is arguably the most important for State 38 Distilling vodka. We hand-built a 40 foot stainless steel filter which gravity feeds the vodka through 4 columns of fresh activated carbon. It’s basically a Pure water filter on steroids.
-Finally, the finish cut water to proof the vodka should be void of dissolved solids or any cholorine/bromine aroma/flavor. We reverse osmosis filter our cut water resulting in a pure, floral, clean and lightly sweet vodka.”
Jeffrey Dickinson – Head Distiller at Bear Creek Distillery
“Making a good vodka product (or any spirit for that matter) begins with selecting quality raw materials for your fermentation. Once you’ve decided on your mash bill simply buy the highest quality grain or sugar you can afford and begin your fermentation.
Temperature controlled fermentations generally produce cleaner ethanol so if you have a way to control the temperature I recommend it. (You don’t want it getting too hot).
Distillation
Once distillation begins I believe there are three key components to producing good vodka, copper contact, reflux (lots of it), and cold water to create all that reflux. Vodka must be distilled at 190 proof or above and in order to reach this proof you’ll likely have to distill very slowly and use lots of cold water.
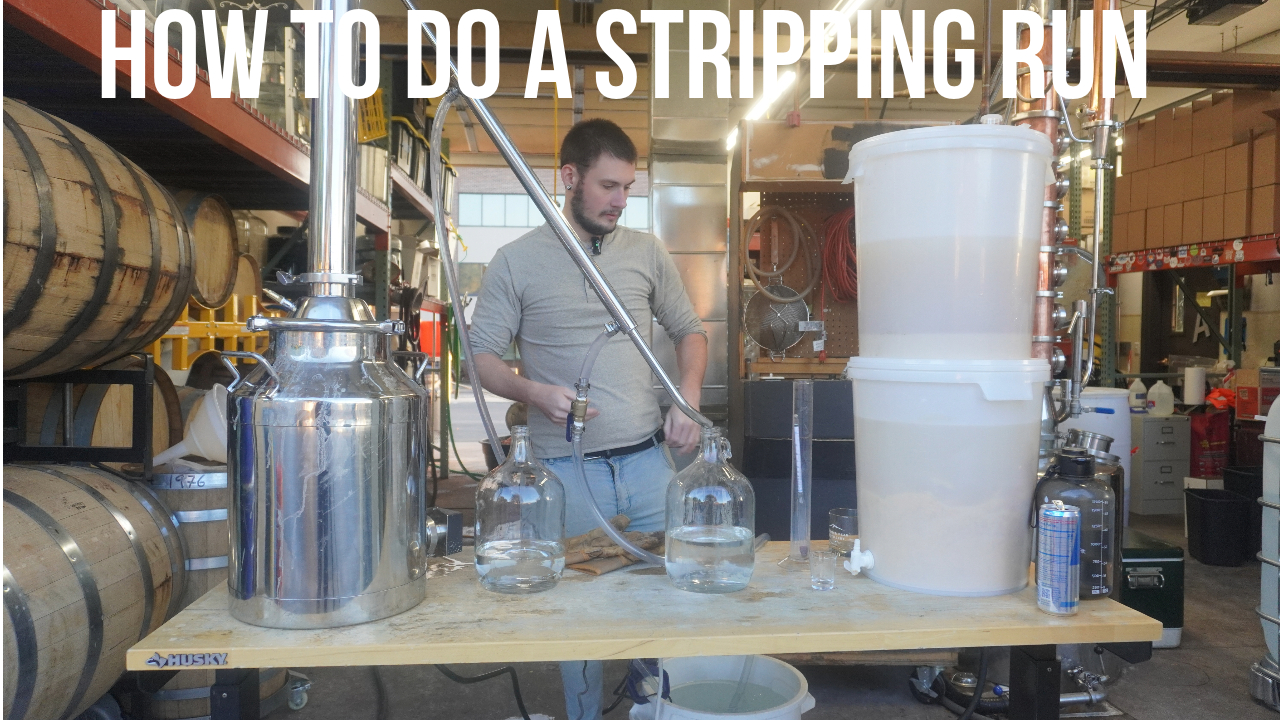
If you really want to get tech with it doing a stripping run before your final distillation will not only make a better product but it will also help you reach your end proof of 190+.
After distillation I recommend chill filtration along with activated carbon.”
Peter Grundy – Owner and Head Distiller of Anvil Distillery
“In my experience as the owner and Head Distiller so far with Anvil Distillery, Vodka is actually the hardest spirit to “finish”. To bring of a spirit over 190 proof (the legal definition of Vodka) and thats temperature adjusted, you have to distill a few times.
We do an initial distillation to separate our alcohol from water via a stripping run with 3 fractional columns. It comes of the the still around 170proof on this initial stripping run. The we do a second distillation with 10 fractional columns.
And for a volume of around 15g it then takes 8 hours or more to run the still slow and high to maintain a proof of around 196proof. So for a good clean vodka “slow and steady’ wins the race.”
Ryan – Devil’s Head Distillery
“Make your cuts conservatively – don’t get greedy and try to increase the yield, because it will very quickly decrease the quality. Also, if you’re running a column still and you have a pre-condenser or dephlegmator, let it do most of the work rather than your condenser. This will help you more easily achieve 190° proof if your still is capable of it.”
Robin Marisco – CFO of Spring44 Distilling
“Perfect spirits require perfect water. a 750mL bottle of 80 proof vodka is 60% water. It matters. At Spring44, we use only water directly from our artesian mineral spring located at 9,000 ft in the Northern Colorado Rockies.”
Dawn Nudell Richardson – Owner/Manager of Rising Sun Distillery
“I think distilling the best vodka starts with good quality grains, to be very sensitive to your heads, hearts and tails cuts, in addition to using good quality water and filtering.”
Jason – Still Cellars
“I personally think creating the best vodka comes from starting with the best organic ingredients, then working to keep as much of their character as possible… even as vodka. Simple as that.”
Kevin Culhane – Honey House Distillery
“We think the perfect vodka comes from unique ingredients mixed with patience, good equipment and making your cuts at the right time.”
Michelle Marlow – Marble Distilling Co.
“Mashing & Fermenting with Colorado Grown Grains, Pot Distilled and in addition, filtered through Crushed Yule Marble.”
Gus Haik – Cajun Spirits Distillery
“To craft the best vodka create the base; ferment your product in house. Don’t buy it.”
Heather Bean – Still Mistress (Owner/Distiller) of Syntax Spirits Distillery and Cocktail Bar
“In my opinion, vodka is the most difficult spirit to make well. While vodka is supposedly “flavorless,” I think that as distillers we can probably all agree that that’s not quite true.
The flavors in vodka are just (hopefully) very subtle. To me, for example, good wheat vodka is slightly sweet, potato is a little spicy, and corn is a bit hot.
However, it’s easy to tip from those subtle flavors into something that resembles white whiskey without good fermentation, a proper still, and good cuts. While there’s nothing wrong with good white whiskey, it’s still bad vodka.
On the other hand, I’d argue that vodka that has no character at all other than pure ethanol flavor isn’t very interesting. There’s also quite a lot of it to be had in the mass market and less reason to do it on a craft basis. Good craft vodka is a balance of very small things.
Grain, enzymes, water, and yeast produce the palette of flavors that you have to work with at distilling time, and different combinations produce a different set of flavors.
Mash Combination
With vodka there’s nothing for unwanted flavors to hide behind and no barrel to forgive any sins, so it’s generally easiest to figure out which mash combination that you enjoy produces the fewest or most subtle flavors to start with.
From there you need a still capable of producing 95% ethanol in hopefully no more than a couple of runs. Finally, be very vigilant about tasting during distilling to hit the heads and tails cuts such that you can harvest nice, clean hearts to become your vodka.
Until you get the feel for your wash and your still, it’s generally easiest to just make a whole lot of cuts, so you can teach yourself roughly when the good bits start and end as well as what that tastes like.
And then on to the post-process! In my experience, no (reasonable/practical) amount of filtration can truly make bad tasting vodka fantastic, but carbon filtration can make a decent vodka even cleaner.
So I’d say try some filtering, and experience will tell you what you like best from your equipment. Finally, the dilution water does matter — definitely filter to remove chlorine and anything else you might not enjoy from your local supply.
I’m fortunate enough to be in the city voted “Best water in the US” so I don’t have a ton of experience adjusting water for anything serious.
Happy Vodka-ing!”
Christopher Joseph – Founder/CEO of Wild Roots
“When creating spirits what we have done at Wild Roots is kept it simple and relied on the natural resources the northwest has to offer. From what I have seen in the industry is people try to overcomplicate recipes to try to differentiate from other products.
My tip for distillers would be to keep it simple and ensure you are using quality ingredients. We don’t use artificial flavoring, coloring, or any additives in our spirits.
By sticking to the basics and relying on the resources surrounding us, such as fruit, water and lava rocks, we are able to create a unique spirits that resembles the land from which is comes.”
Five Saints Distilling
“Go low and Go slow – low heat and low cooling is key.”
Let us know what you thought of this guide by leaving a comment or a star rating below